Fast Checkout & POS
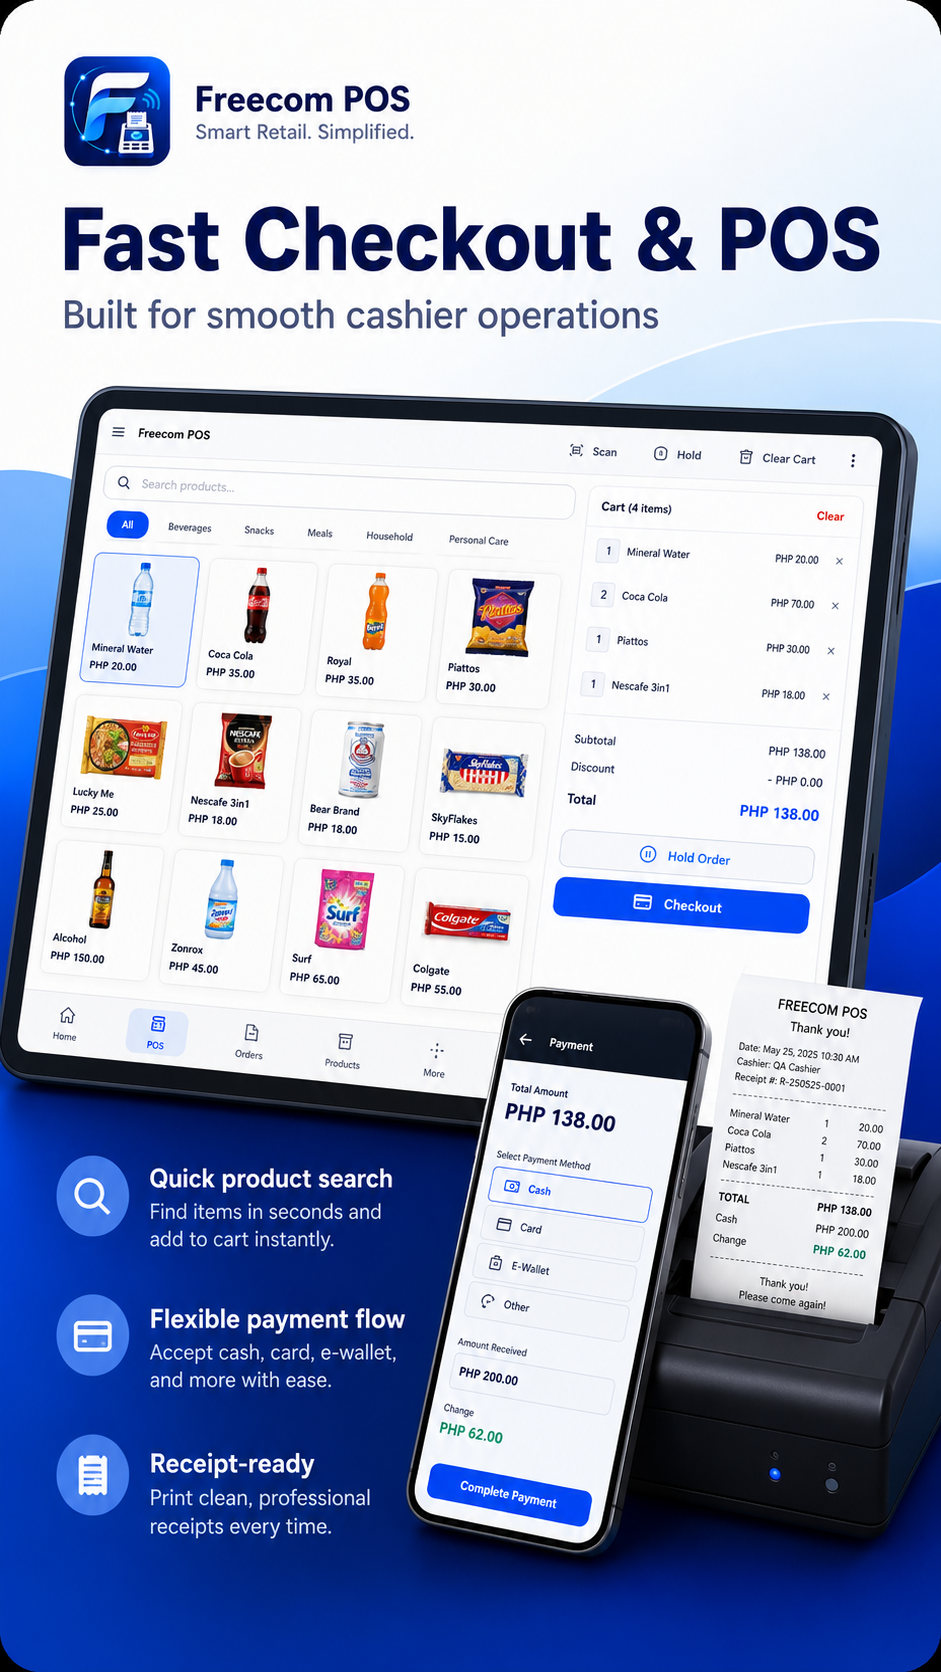
Search products, add items to cart, accept payment, and print a clean receipt without extra steps.
Mobile | Tablet | Desktop
Customer-ready instructions for daily POS use, settings, products, inventory, reports, coffee shop recipe costing, printing, backup, and module setup. Click a guide card to open step-by-step instructions in a popup.
New Customer? Start Here
Follow this checklist before live selling. It keeps the shop setup clean, avoids missing printer or product details, and gives the customer a safe first backup.
Visual guide
These previews help customers understand what each module looks like before using it on mobile, tablet, or Windows.
Search products, add items to cart, accept payment, and print a clean receipt without extra steps.
Business coverage
Freecom POS can support many store types. Enable only the modules needed for the customer's actual business.
Find answers fast
Click a card
Each card opens a popup with what it does, how to enable it, how to use it, and what to check on mobile, tablet, and desktop.
Role-based help
Use this section to train staff faster. Admin users handle setup and control. Cashiers handle daily selling.
Troubleshooting
Possible cause: printer not connected, wrong paper size, or receipt preview/print setting not configured.
How to fix: open Printer Setup, select printer, run test print, and choose 58mm, 80mm, or A4.
Possible cause: user not synced, offline PIN not set, or offline login disabled.
How to fix: connect internet, sync users, set PIN in backend, and enable offline login.
Possible cause: stock quantity is zero or stock tracking is enabled.
How to fix: open Inventory, use Stock In or adjustment, enter quantity, then save.
Possible cause: unpaid open bills, wrong date filter, or cancelled records included by mistake.
How to fix: check Sales History Today and complete open bills using Pay Now.
Possible cause: missing image file, unsupported image type, or logo path not saved.
How to fix: use PNG or JPG, upload logo again, then Save Settings.
FAQ
Yes. The main selling flow works locally. Backend sync is optional and can reconnect later.
Open Products, tap Add Product, enter name, category, price, stock, barcode, variants if needed, then Save Product.
Open Settings, then Printer Setup. Select the printer mode, choose the printer, save it, and run Test Print.
Check printer power, paper, Bluetooth/USB connection, paper size, and whether the selected printer is saved.
Open User Management as admin, create a local cashier, set username, password or PIN, role, and active status.
Open Settings, expand Coffee Shop, enable the module, save settings, then open Coffee Shop from the menu.
Open Settings, then Backup / Restore. Export a backup regularly and review the import summary before restoring.
Open Products or Inventory, set stock quantity and low stock alert level, then restock items as needed.
Enable Pay Later in Settings, save an order as Pay Later, then settle it from Open Bills using Pay Now.
Yes. Available features may depend on the device, printer, and enabled modules.
Screen behavior
Available features may depend on device, printer, operating system, and enabled modules.
Use the side menu or bottom navigation. Secondary actions usually open as menus, bottom sheets, or popup dialogs to keep the cashier screen clean.
Uses wider cards and split panels where available. Ideal for a countertop cashier device with touch-friendly controls.
Uses larger panels, tables, and toolbars. Best for management, reports, product editing, inventory review, and printer setup.
 Freecom POS
Offline-first Customer Help Center
Freecom POS
Offline-first Customer Help Center
Quick notice
Please take a moment to review the Privacy Policy and Terms & Conditions for the Freecom POS Help Center.
Freecom POS
Customer Help Center
Access notice
You need to agree to the Privacy Policy and Terms & Conditions to access the Freecom POS Help Center.